01.25
So I’ve been really enjoying my shiny new Nexus One but the stock headphones blow. They fall out of my ears and also don’t offer any noise cancellation which makes them a no-go for work. The headphones have a pretty nifty inline remote that offers skip forwards/backwards and pause/play buttons. I really wanted to take advantage this so I set out to mod my headphones. Now, if you have ever worked with headphone wires then you know how much of a PITA they are. I decided to document the process and post it here so anyone trying to do something similar might learn from some of the pitfalls I encountered and a couple of nifty tricks I discovered. First off I have to thank Alex Whittemore’s blog post which helped me figure out how to prep those tiny evil wires for soldering.
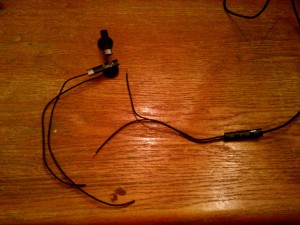
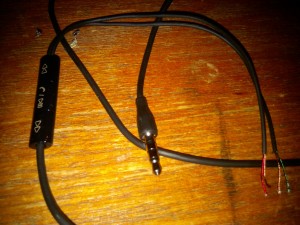
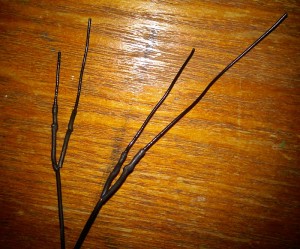
Next, I used a Bic lighter to burn off the acrylic insulation from the wires. A few things to note here. First, this stuff catches fire pretty quickly and will burn all the way up to the sheath and melt the sheath if you are not careful. Since we just want to burn the insulation off of the end of the wire let it catch fire and then blow it out quickly. After the initial burn, keep the flame of the lighter on the wire till it glows red hot. At that point, after cleaning it off with some rubbing alcohol it should be ready for soldering. Soldering these wires is a royal PITA. They are flimsy, don’t stay where you put them and getting solder to stick is difficult at best. I found one tip that suggested taking a piece of solid wire, coiling it up like a spring and soldering the headphone wire to it. The solid wire is way easier to solder onto the jack and the coil gives it some springiness so you don’t stress the joints on the jack too much and break them. I took this a small step further and used a pair of pliers to clamp the coil down on the headphone wire after I slid it inside the coil which held it very well while soldering the two wires together.
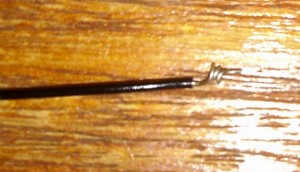
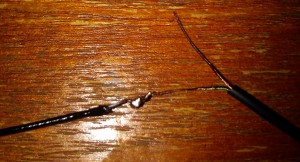
Next. Heat shrink! This stuff is awesome. Use it to insulate the wires from each other and help protect the joints. I used heat shrink very liberally in the mod. Make sure you leave some way to tell which wire is which. I used different lengths of the solid wire to help me keep them separate.
Final step, soldering on the shiny new headphone jack. I got mine from Fry’s. I’m sure there are 1000 places you can find them online too. Don’t forget to slide any extra heat shrink and the jack sheathe on BEFORE you start soldering it all together. I forgot and had to take it apart and do it again.
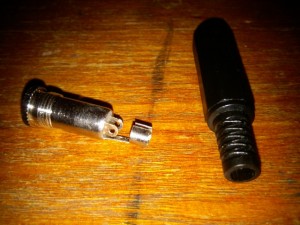
I twisted the two ground wires together and added a little solder to help keep them together. Then I soldered the pair onto the ground connector of the jack.
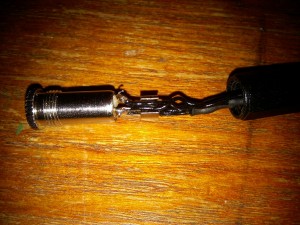
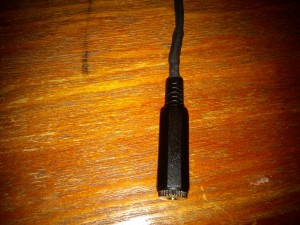
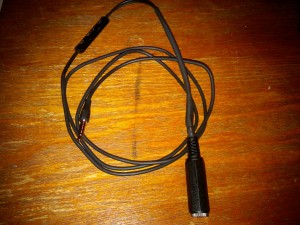
More heat shrink tubing and the finished product! Works like a charm.
Thanks for the shout!
Nice walkthrough, although I wish RS or Fry’s sold a less heinous looking female jack :) I use the same thing all the time, it kills me.
It blows my mind that no one sells this gadget pre-made. I don’t want to destroy my headphones to make one, since I only want it to use in my car (so that I get the skip/back buttons there). I tried a similar gadget made for the iPod called an “iLuv”, but only the pause button works on it. The other buttons are meant to operate the volume on the iPod, and I was hoping they would do forward/back on the N1, but in fact they do nothing. Sigh.
Glad to hear people share good info. Tips given here really help people experiencing the same problem especially if no more funds to buy a new headset. Bookmark this site and waiting for another great info.
this is very helpful for those person which is use the i pod.
nice post,i like it
Hi When soldering this do you have to pace the wire through the whole first ? I was just wondering.